


Photo Source: Doc.WSBP
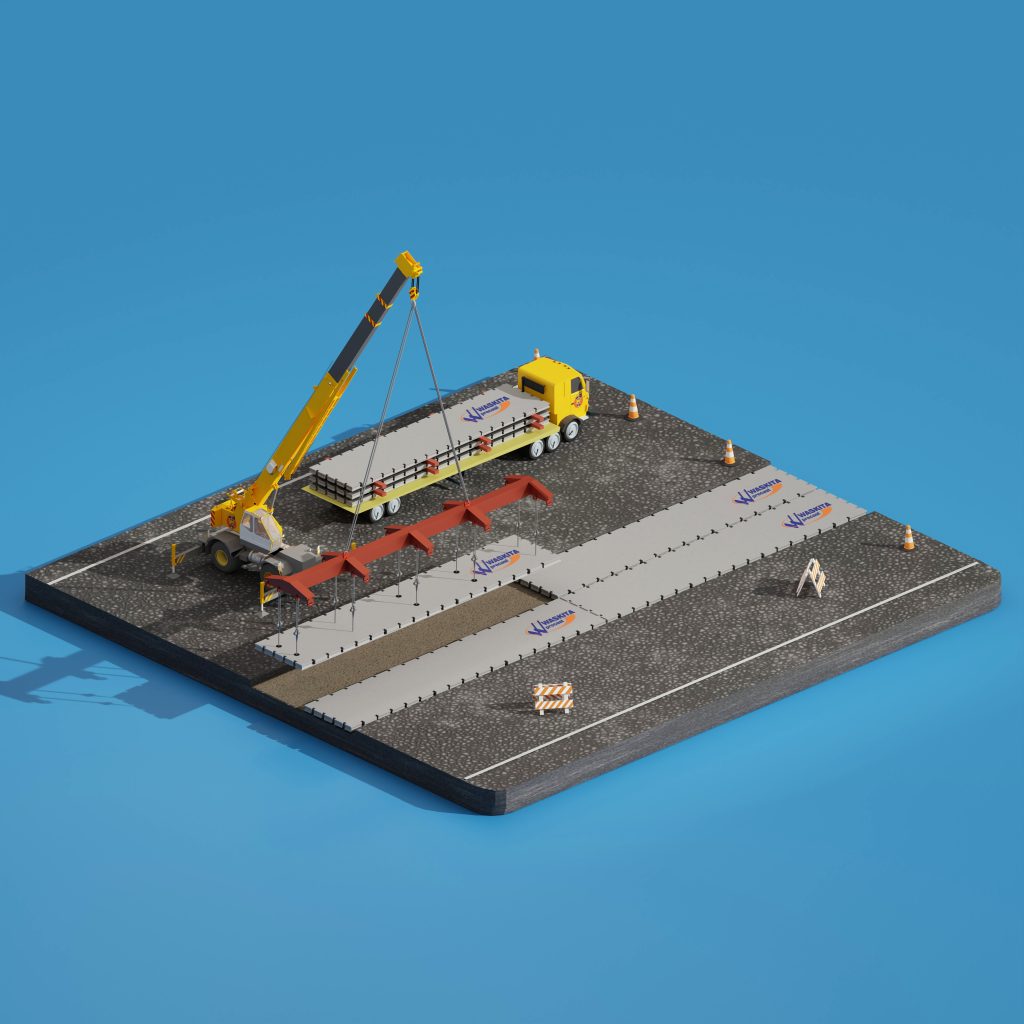
SPRigWP is an innovative product in the realm of Continuously Reinforced Concrete Pavement (CRCP) with Unbonded Prestressing, manufactured in precast modules. This groundbreaking product is the brainchild of PT Waskita Beton Precast Tbk (WSBP).
During the SPRigWP installation process, there are various openings and gaps, including those beneath the panel, between panels, and dowel activator holes. It is crucial to close these openings and gaps using grouting material.
Here's an overview of the SPRigWP panel grouting injection process:
1. Ensure Unobstructed Holes or Gaps
Before grouting, ensure that all holes are unobstructed by spraying water using an air compressor on the lifting point holes and dowel inlet holes. In cases of blockage, use a hand drill to clear the holes, ensuring the proper installation of dowel activators.
2. Clean the SPRigWP Panel Grouting Area
Clean the entire SPRigWP panel grouting area (bottom of the panel, gaps between panels, and inlets) by spraying with an air compressor on the lifting point and dowel inlet holes. air compressor pada lubang lifting point dan inlet / lubang dowel.
The aim is to remove dust, dirt, and mud, strengthening the bonding between the grouting material and SPRigWP panels.
3. Sealing
Perform sealing immediately after the SPRigWP panel is installed. This involves uniformly and thoroughly closing gaps between SPRigWP panels and the layer beneath (lean concrete, subbase, or subsoil) using sealing material.
Sealing is done for each SPRigWP panel segment or as per the capacity of the equipment used. Ensure that the sealing material used can withstand the flow of grouting material and is leak-proof. The sealing material should have a thickness of +3 mm and a setting time of approximately 1 hour.
4. Cone Method Test
Before the grouting injection process, conduct the cone method test. This test measures the fluidity of the grouting material.
The Cone method procedure follows the BS EN 445:1996 standard, specifically 3.2.2 Cone method, with requirements according to BS EN 447:2007 6.3 Fluidity, with a flow time requirement of less than 25s.
5. Injection of Mortar Grout Material
Inject mortar grout material through the lifting point holes beneath the SPRigWP panel using a pump with a minimum pressure of 3 bars. The injection pump should continuously pump until the material spreads out at the joint below the dowel.
Ensure that the gap beneath the panel is fully filled with mortar grout material, as indicated by the material flowing out of the outlet hole.
The injection pump should continuously pump at a minimum rate of 5.7 liters per minute. Create a minimum of 9 test specimens, with 3 samples each at grouting ages of 3, 7, and 28 days.
6. Injection of Cement Grout Material
Inject cement grout material into the gaps between SPRigWP panels using the gravity grouping method up to a height of 125 cm, using a grouting pump.
Simultaneously, inject cement grout material into the gaps between SPRigWP panels from the dowel activator hole through special holes (inlet or outlet) near the dowel activator with a minimum pressure of 3 bars.
The injection pump should continuously pump at a minimum rate of 5.7 liters per minute.
Create a minimum of 9 test specimens, with 3 samples each at grouting ages of 3, 7, and 28 days.
7. Smooth the Surface
Smooth the surface using a hand trowel or raskam until the grouting surface is level with the SPRigWP surface.
8. Create Grooving Channels
Create grooving channels in the gaps resulting from grouting and the spigot area using a grinding machine. The grooving follows the existing slab grooving pattern.
Apakah Informasi ini Bermanfaat Untukmu?
Click on a star to rate it!
Rating rata-rata 5 / 5. Banyaknya rating: 2
No votes so far! Be the first to rate this post.


